
A few of you may have seen the adorable, insulated lunch bag I decided to use as temporary housing. While it was cute, it was too small and didn't afford enough protection for my new camera. So I went on a hunt to find a stylish bag that I could convert into a camera case.
Here is the result.

It's a big bag. Probably too big (20" long), but I'm cool with that. Besides being super cute, the best part was the price. It's a $70 Liz Claiborne tote, but I got it for $21! (I added the LOVE key chain.)
One more thing- the colors above are true. The colors in the remaining photos are a little off.
That's because I'm still learning how to use my camera.

This is the inside (it's really raspberry, as you can catch a glimpse of it in the first picture). I made a foam box and covered it with taffeta (because it is slick and all the ripstock was in UGLY colors). The bottom layer is 2" foam and chipboard. The outside walls are 1" foam and chipboard. I also made a foam insert to fit inside the top of the box. The cute, dotted ribbon is a handle to make removal easier.

This is a view with the top insert removed. I sewed Velcro onto the walls of the inside fabric so I could attach my dividers. The dividers can be moved around, just like a "regular" camera bag.
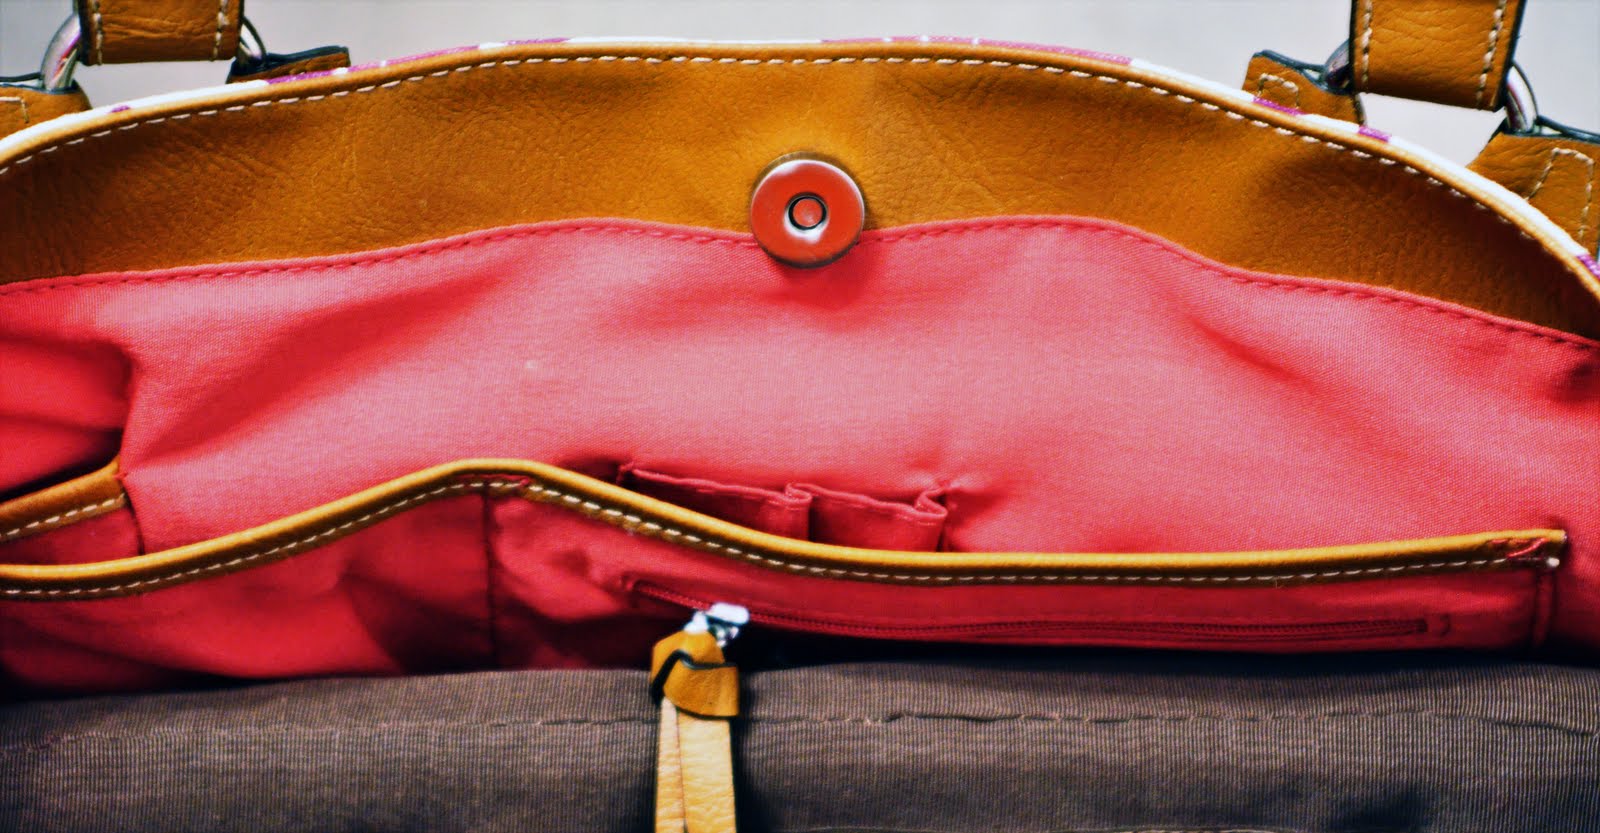
This is the top of the bag showing the height difference between my foam box and the bag. By making the box this height, I am able to still use the pockets and zippered compartments of the tote, as well as snap it shut. Win-win!
Now the pictures don't show what a truly amateur project this is. I laughed and told my mom that I'm positive that either my bff Jef or my S-I-L Karen could have whipped this out in a couple of hours, but I'm not a sewer and it took me a day and a half. HA! (I also coated all fabrics with a water repellent spray... important!)
Still, I'm pleased with the outcome, and I didn't have to spend $150 - $200 for a stylish bag. My total cost: $45!


