
What you will need:
- fabric (I think prints look best.)
- scissors
- needle & thread
- rice
- fiber-fill
- twig
- hot glue gun (a girl's BEST friend)
- silk leaf (autumnal colors of course)
- large plate
Step 1


Sew a loose running stitch 1/2" from edge of fabric. Leave needle attached and gather fabric to form a bowl. (I know I should have used a dark thread for the tutorial, but I am going to keep this pumpkin and I didn't want to have to sew it twice.)
 Pour a 1/2 cup of rice into bowl.
 Add fiber-fill.
 Hot glue twig (at an angle looks FAB) and cinch opening.

Lay plate on fabric and cut about 1" from edge. (This is a 12" serving plate, resulting in a 14" circle.)
Step 2
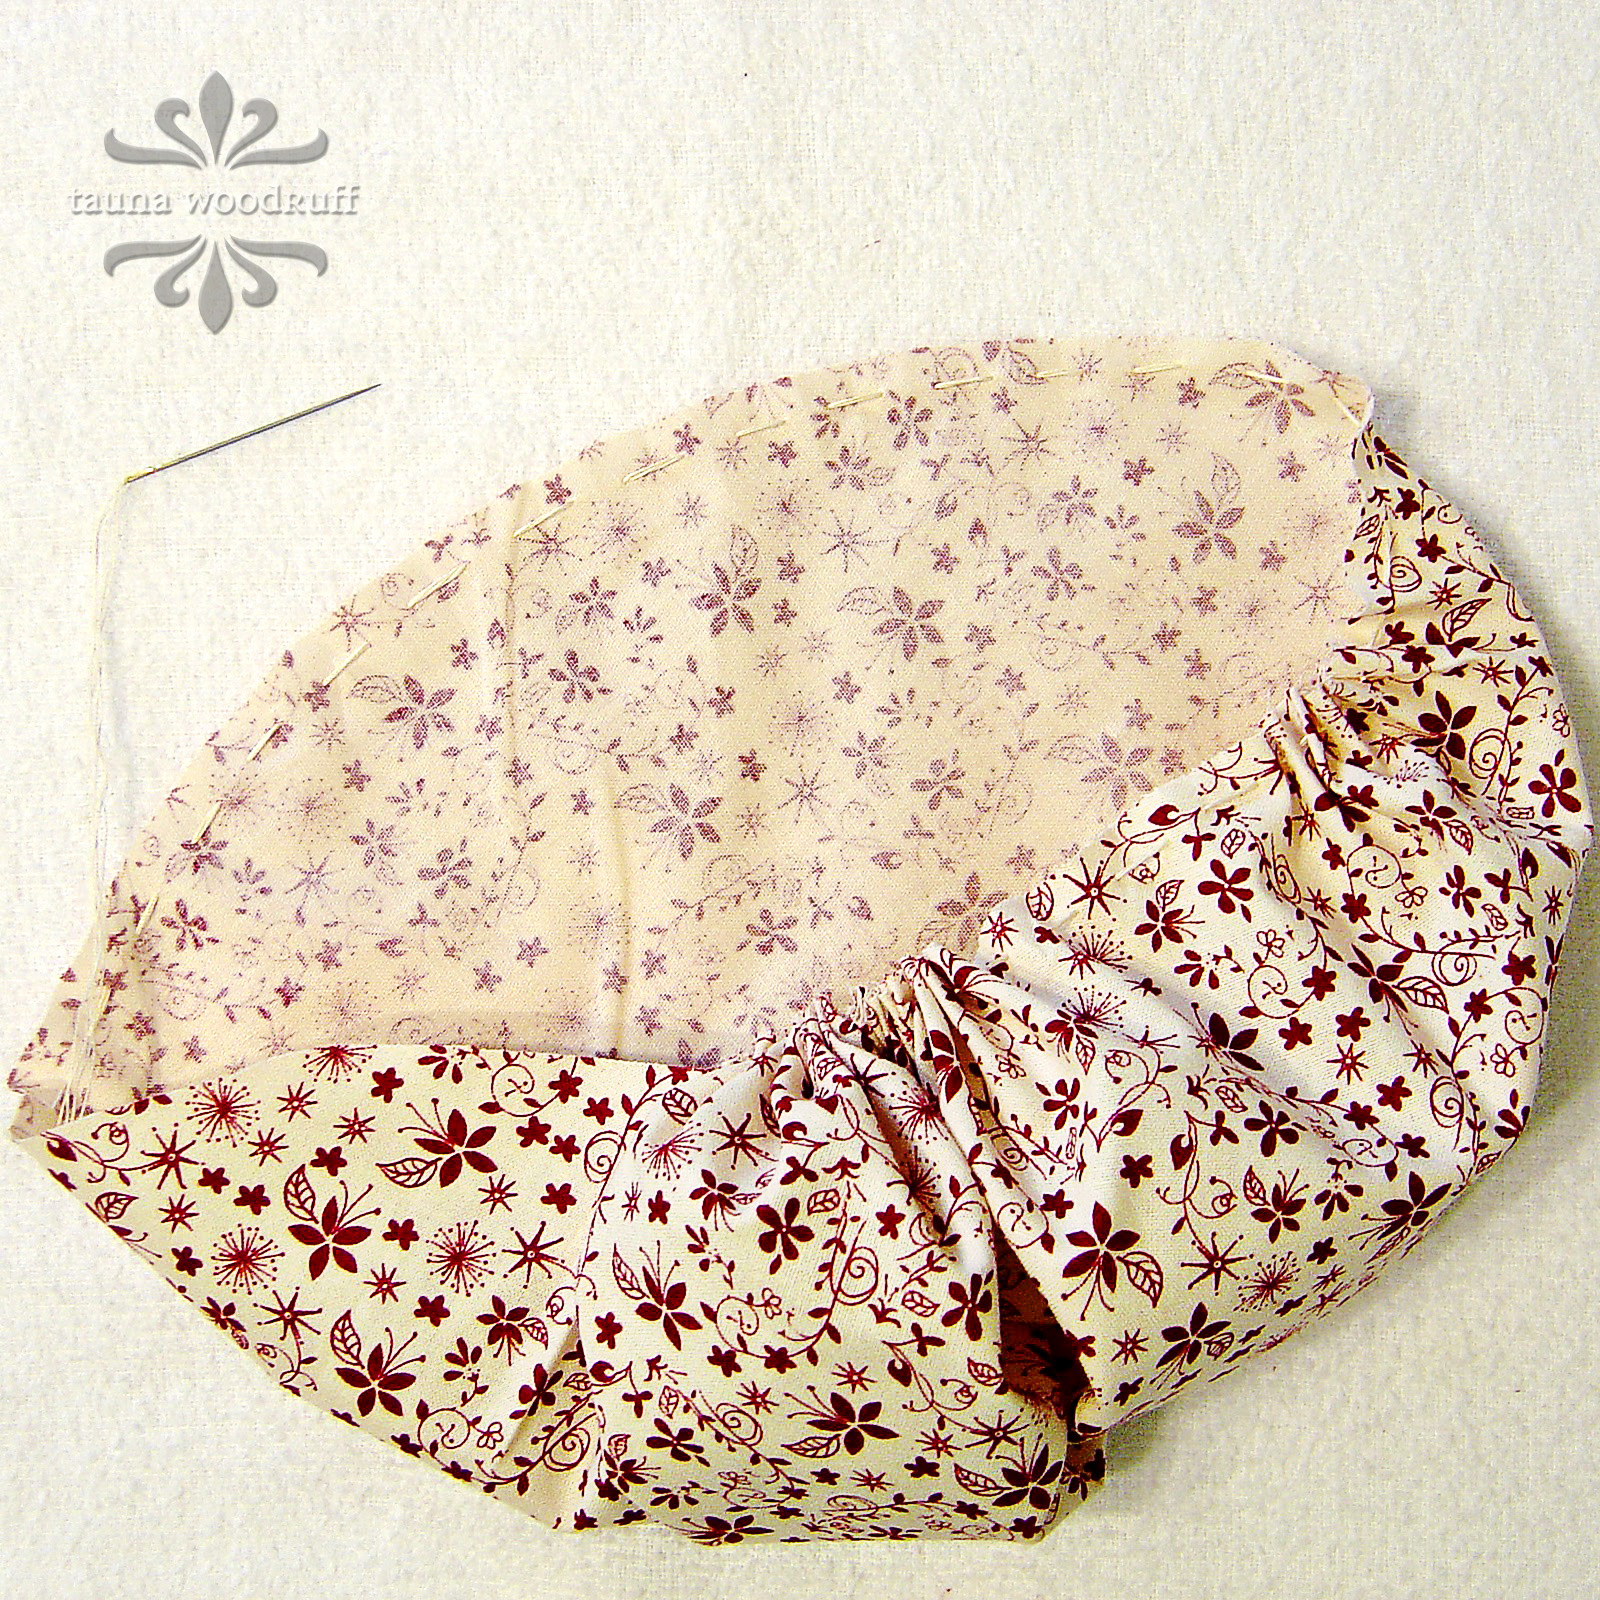
Sew a loose running stitch 1/2" from edge of fabric. Leave needle attached and gather fabric to form a bowl. (I know I should have used a dark thread for the tutorial, but I am going to keep this pumpkin and I didn't want to have to sew it twice.)
Step 3

Step 4

Step 5

Sew closed. Make sure to hide your knot in a fold.
Step 6
 Glue silk leaf to stem or at the base of the stem where

it meets the pumpkin. I added a coil of green
florist wire to up the cute factor.

They are so easy to make, so you could have a whole patch of pumpkins in no time.
Hint: If you are using a thick fabric you will need to make your stitches long (farther apart). Otherwise you will end up with a LARGE opening after you've cinched it together. The opening will be better suited for a branch rather than a twig.
Bonus Hint: If you have an actual pumpkin stem that would be the BEST THING EVER!
I hope you have as much fun making a patch of pumpkins as I did.
Thank you for visiting creative confetti! Please take a moment to "like" creative confetti (website) on Facebook and/or follow me on Twitter. And I'd love to hear from you via the comment section or the email option on my profile page!
2 comments:
You are soooo creative! I love, love, love these pumpkins, they are so cute!
Love your pumpkins Tauna Marie!!
Post a Comment