
This is another peek into my office make-over. I decided to keep the teal walls and bring in black, white, grays, and pinks. A large part of my design involves the use of scrap paper, so it seemed to be the natural fit for a unique window treatment.
Here's the easy-schmeasy how-to...

My window is 38" wide, so I did the math and decided I needed 18 two inch strips of paper (That equals 36" with 2" to spare for space between each piece.) I picked eight pieces of scrap paper (four pinks and four black & whites), because I wanted to repeat my patterns.
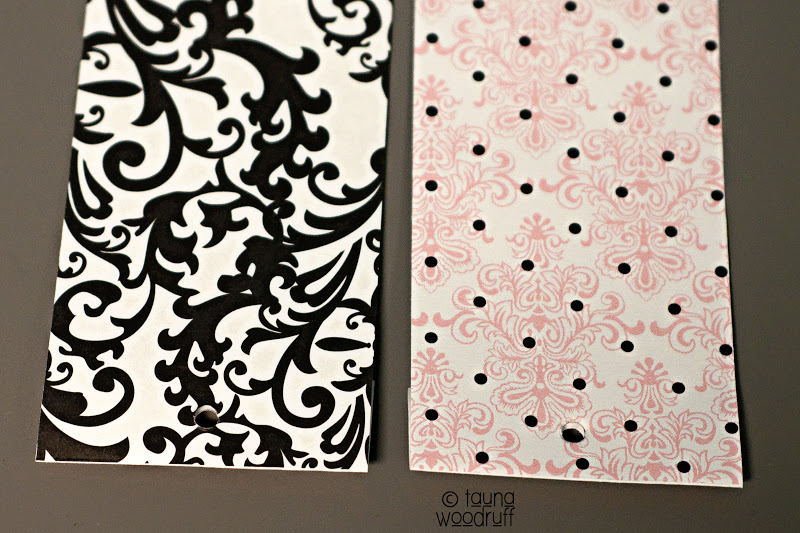
Punch holes in the center of each end of the paper. Don't skip out on measuring here, even if you're good at eyeballing it. You want the holes to be in the same spot on each piece of paper. (SHORTCUT: Measure and punch the holes on the first strip and use it as a template to mark the other pieces.)

This step isn't exactly mandatory, but you will be happy you took the time to do it. I'm talking about grommets. They give your project a finished look, and they add strength to the paper. Unfortunately for me I had the wrong kind of grommets. Each one required 12-15 "punches" to set and took four times as long, so I decided to skip the step I said not to skip. I didn't add the grommets to the top holes, but I'll go back and do it later.

I used binder rings as curtain rings. My original plan was to use clip rings, but they were $22 and the the binder rings were $4. Don't forget, this project is an effort to get the best look for the cheapest price. (By-the-way, this is what the top holes are supposed to look like with grommets. I totally cheated in this shot, because these are the bottom holes.)

My final touch was to add a two bead drop to the end of each strip of paper. I just raided my jewelry and craft supplies and used what I had on hand.

A simple tension rod is all it took to get it in place. I love the outcome. I even like the movement in the paper and the way it doesn't hang perfectly. What is perfect are the horizontal lines. The strips line up well and so do the beads. Now if I could just figure out how to rid myself of the mini blinds.
Thank you for visiting creative confetti! Please take a moment to "like" creative confetti (website) on Facebook and/or follow me on Twitter or Pinterest. And I'd love to hear from you, so drop me a note via the comment section or the email option on my profile page!
1 comment:
Love this!! I knew you'd come up with some super-creative ideas for your office. Can't wait to see the whole thing!
Post a Comment